🧭 Overview
Color: 🟢
Competitiveness: 🔥🔥🔥
Difficulty: 🧠🧠
Type: 🔗
Tempo: 🐇
🎯 Strategy
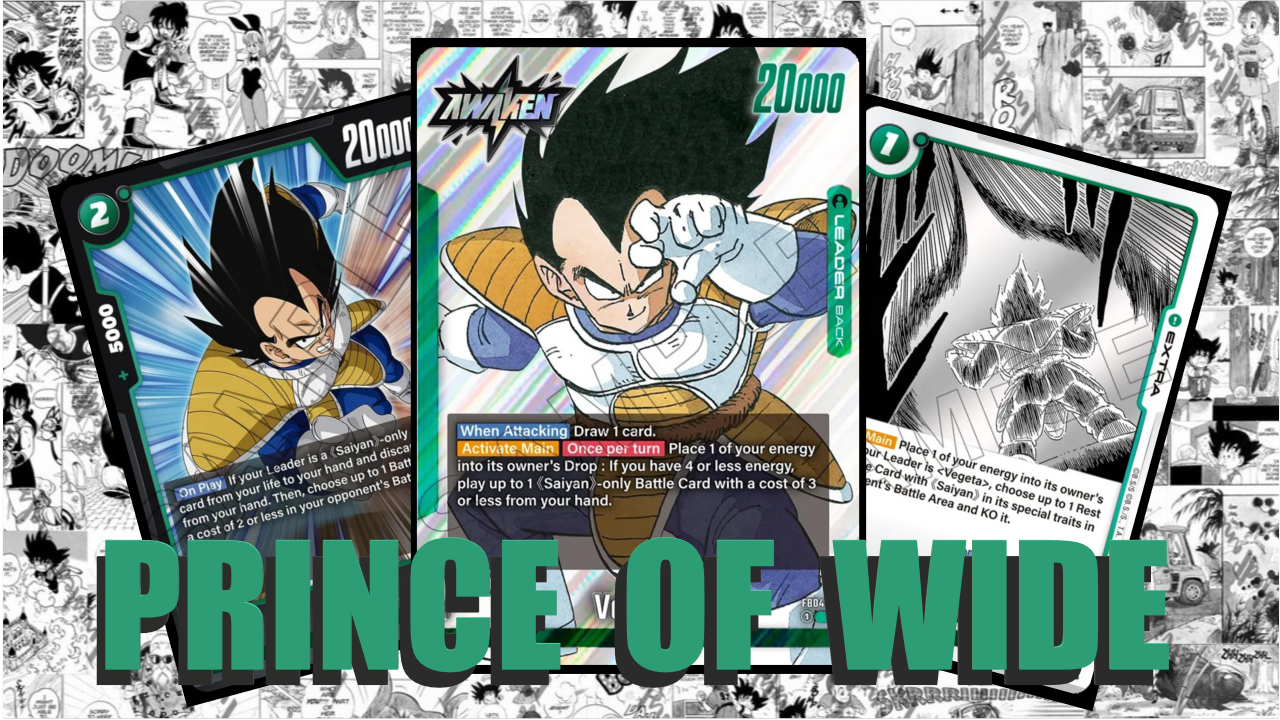
We must pursue a strategy that deviates from traditional Green. There is a form of ramp here, but it is expressed not in energy, but in "Ki." Our goal is essentially to reach 2 Ki, which we can do from the 2nd turn, so Awakening is expected to happen by turn 3. Another difference is that since we cannot ramp into our bombs, a 5 cost card will bring out the 8 cost cards instead of us actually having to pay for them.
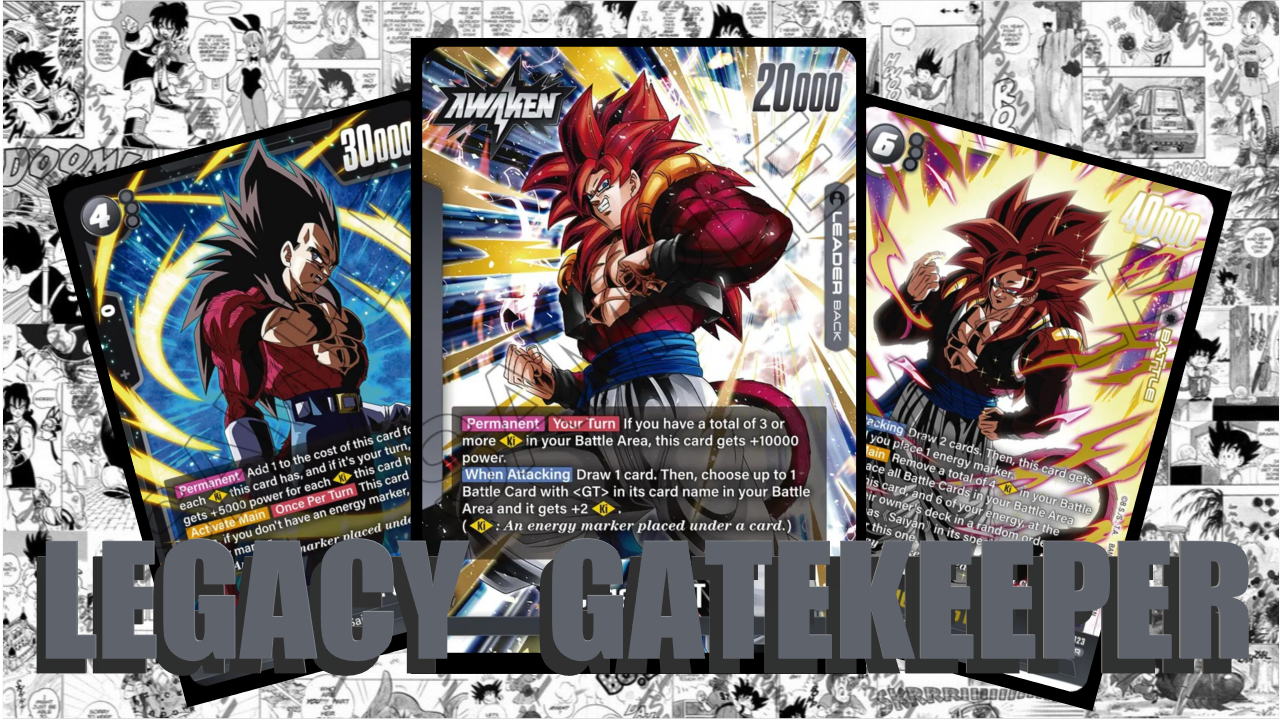
After that, we must maintain a quite interesting dynamic. Essentially, the entire Leader mechanic is built on an all-in maneuver that we execute from 4 life (this can change minimally if the SCR is on the board instead of the double striker). We are not flexible in using our Ki, it will gradually increase throughout the game, but realistically, we can only fire it off once. This gives us a massive double-strike attack (+10k for every Ki), and subsequently, due to the activation from the Extra, another double-strike attack where we commit everything. In practice, this will result in roughly 2x100k double strike attacks.
Our goal is to find the right moment to trigger this combo. The longer we can hold out, the more impactful it will be, but to make this work, we have to survive long enough. This variant serves this purpose. We combine the traditional strong cards of green with the Ki line, so we have a Plan B if we feel it is necessary.
⚠️ Challenges
Our biggest problem is that although we can get back up to 5 energy after playing the SCR, we cannot use this for battle cards, only for extras, and there is no extra that truly exploits this right now. We have very few options for generating Ki, and none are an option for 1 energy, forcing us to run weaker cards just to ensure we reach Awakening. Finally, our strategy is very transparent, and the opponent can take advantage of this against us. Even with all the previous SH support, our room for maneuver in building this deck is very limited.
🧱 Core Cards
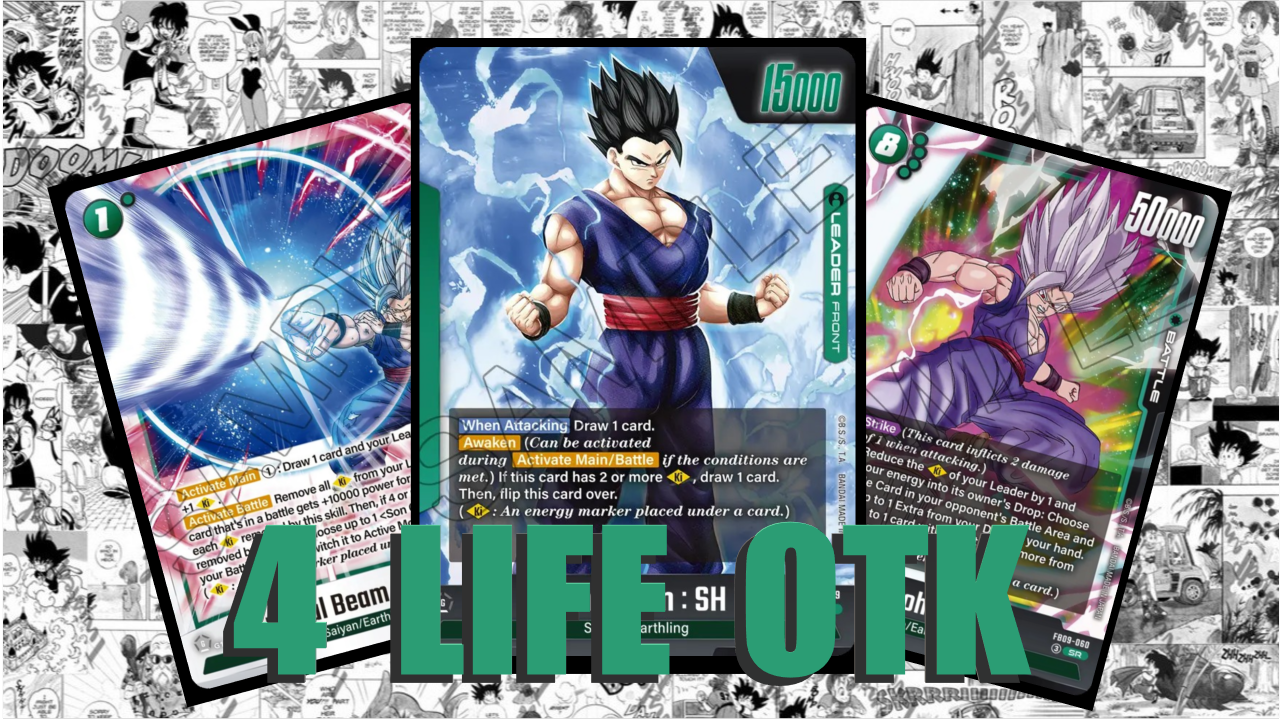
FB09-060 Gohan – The payoff in the deck that enables the execution of the opponent.
FB09-072 Special Beam Cannon – An essential cornerstone of our strategy, we can trigger our Ki with this card.
FP-072 Gohan – The corresponding FB09 variant can also be placed here, we use this to cheat out the 8-cost card earlier.
💡 Tips
If we reach 8 energy, we can bring 2 Beast Gohans to the board in one turn if we start with the SCR.
Only fire off your Extra for an attack if you are ready to end the game.
Try to play on-curve cards, since this is optimal in every case.
If both Gotenks and the Extra are in your hand, play the Extra on the second turn.
⚙️ Fine-Tuning
Additional Cards
Ramp Line
Guru Line
Guru: Makes a 5-cost Extra free, this is the basis of the idea.
Shenron's Extra: +1 Ki and plays a 5-cost Piccolo; because of Guru, this can happen on turn 2.
Piccolo SH: Ramps by one, this is our best option from the Extra.
Ratio Adjustments
For 5-cost Gohans, it is freely adjustable how many of each to have.
The ratio of 4-cost cards is also flexible, depending mostly on playstyle.
🎥 Gameplay
Digital
FB09
Free
c9a9ee7f-6f03-4fd5-bf89-90a769d3ad81 - switchogeta; master (youtube)
7cc83b8f-0ea2-4901-9489-4416f6f045f3 - kiogeta; platinum (youtube)
Ranked
58df2d7f-e671-4ace-91f4-099e314616a1 - brogeta; god (youtube)
29dcb4c5-23ed-4546-b439-b7c9a068d109 - kiogeta; platinum
9bf0d387-57c7-4849-b25f-163f9232796d - brolybr; platinum
5dc73ed8-d9fb-4dad-b808-9d1c13227e08 - brogeta; platinum (youtube)
b1cd6ce2-3efa-474c-9ae6-0e4b7c0c7240 - taxly; master (youtube)
YouTube
📃 List
💬 Personal Notes
In FB09, my least anticipated leader was Beasthan. I specifically do not like Orange Piccolo, and it seemed this was built on similar foundations, although at least in an aggressive form. Overall, I was pleasantly surprised, but it is still second-to-last among the new ones for me.
The reasons for this are the inconsistency, the reliance on the previous set's SCR (which is one of my most hated cards in the game), and the lack of true flexibility. Building on Guru is a fun version, but it cannot be taken really seriously, and the basic strategy will always be the same: running a pre-determined sequence by playing the 5 and 8-cost Gohans.
🔑 Legend
Icons
Type: 🗡️ Aggro | 🏹 Midrange | 🛡️ Control | 🔗 Combo
Tempo: 🐌 Slow | 🐇 Medium | 🦅 Fast
Difficulty
🧠: Beginner-friendly, perfect even for your first game.
🧠🧠: Easy; requires attention to a few small details, but follows a simple and clean strategy.
🧠🧠🧠: Requires learning, but becomes routine after sufficient practice.
🧠🧠🧠🧠: Requires a deep knowledge of both your own deck and the opponent's; demands situation-dependent decision-making.
🧠🧠🧠🧠🧠: Demands perfect play in both decision-making and execution through complex sequences.
Competitiveness
🔥: Unplayable; does not perform under any circumstances.
🔥🔥: Underperforms; highly dependent on favorable circumstances.
🔥🔥🔥: Performs well; perfect for casual play, but at a clear disadvantage against dominant decks.
🔥🔥🔥🔥: Suitable for competitive play; in theory, a skilled player can hold their own against anything.
🔥🔥🔥🔥🔥: Dominant; a typical "boogeyman" deck that everyone hates to face.
Glossary
Aggro: A strategy that ignores the opponent's game plan with the goal of ending the match as quickly as possible, in this case through relentless attacks.
Midrange: A strategy that seeks a middle ground, attempting to balance the tempo. It tries to slow down fast decks and outpace slow decks. Board control is a vital tool here.
Control: A strategy entirely focused on neutralizing the opponent's plays. It settles in for a long, slow game where the goal is to bleed the opponent out of resources.
Combo: A strategy that aims to win (or at least cause a radical shift in the game state) through the synergy of specific cards, often appearing to come out of nowhere. The goal is to gather the necessary components and fulfill the prerequisites as quickly as possible.