🧭Overview
Color: 🟡
Competence: 🔥🔥🔥🔥
Difficulty: 🧠🧠🧠🧠
Type: 🏹
Speed: 🐇
🎯Strategy
We build our strategy on our leader, which basically enables us to swing one more time with one of our cards. The bigger the card, the better, which makes the SCR the perfect candidate. For this reason our main goal through the whole game is to get the SCR onto the board as soon as possible. If our 2c Goku/Vegeta stays alive, that can be as early as turn 3, but usually we should expect this to happen around turn 5.
Until that time, we should focus on board control. Promo Goku, our extra, and Vegeta are the main utilities for that. Awakening is not a priority against most decks, at the beginning of the game, we probably won't have a good target for our ability.
After Gogeta is down, our game shifts in a huge way. We always need to focus on what we want to achieve with our free energy, and what we want to sacrifice as a target for our ability. Mostly, that is the promo Vegeta, which is the primary target for Veku as well. From an empty board we can do our whole sequence using the Goku/Vegeta, the Veku, the promo Vegeta, and the result will be a Gogeta activated by a leader ability and a free energy we can use after that. The free energy is perfect for searching, using extras, drawing more cards, or squeezing in another attack. We should expect our win to originate from our board presence.
⚠️ Challenges
The deck is extremely vulnerable to a few things. First and foremost Gogeta can be removed from the board by some effect, namely black Gogeta, and the blue color in general. That's quite the big hit on its own, but it's manageable. It's a lot more crippling to have a card on board, which doesn't let us reactivate our cards, which is also Gogeta.
Black Gogeta: GT is almost unwinnable.
🧱 Core Cards
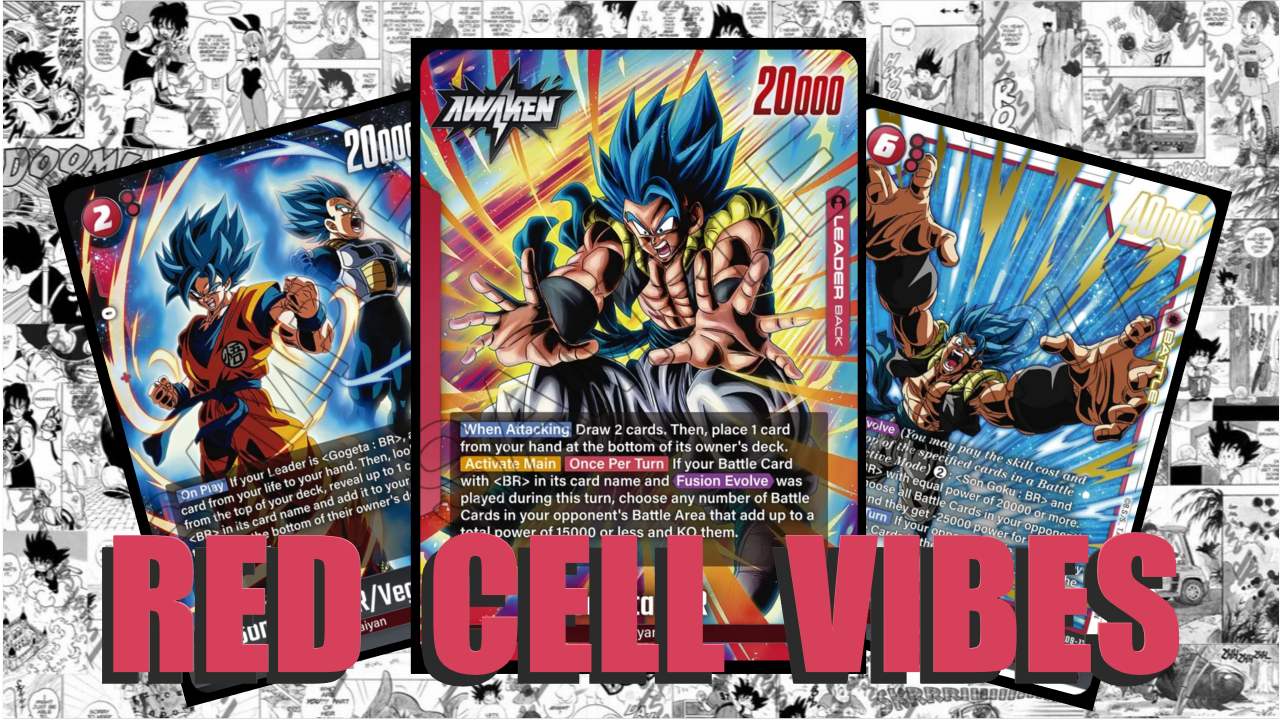
FB09-082 Son Goku/Vegeta – the basis of our combo, the only card we can evolve Gogeta onto
FB09-122 Gogeta – the absolute centre of our deck, every other card revolves around it
FB09-091 Veku – it gives flexibility, and from energy 6 onwards, can be used without the 2c duo
💡 Tips
in the case you go second, keep the marker for the 4th turn, so you can play Gogeta earlier
the 5c Goku is best going first, especially on turn 4
Goku and extra is the best early combination to remove cards from board, especially against black
there is no final decklist, this deck is extremely flexible, so adapt it to the opponents you face
if you have 2 duo in hand on turn 2-3, you can board one, and if your opponent can't deal with it, you gain a huge tempo boost
after boarding Gogeta, there is no reason not to go face
⚙️ Fine-tuning
Additional cards
FB02-136 Blue Power Awakening: I used it most of the time, but by the end of the season the format got faster, and there is less and less need for it. It's a necessity against some decks though.
FP-080 Gogeta: it's a cheaper version of the SCR, it is good into a few matchups
Ratio changes
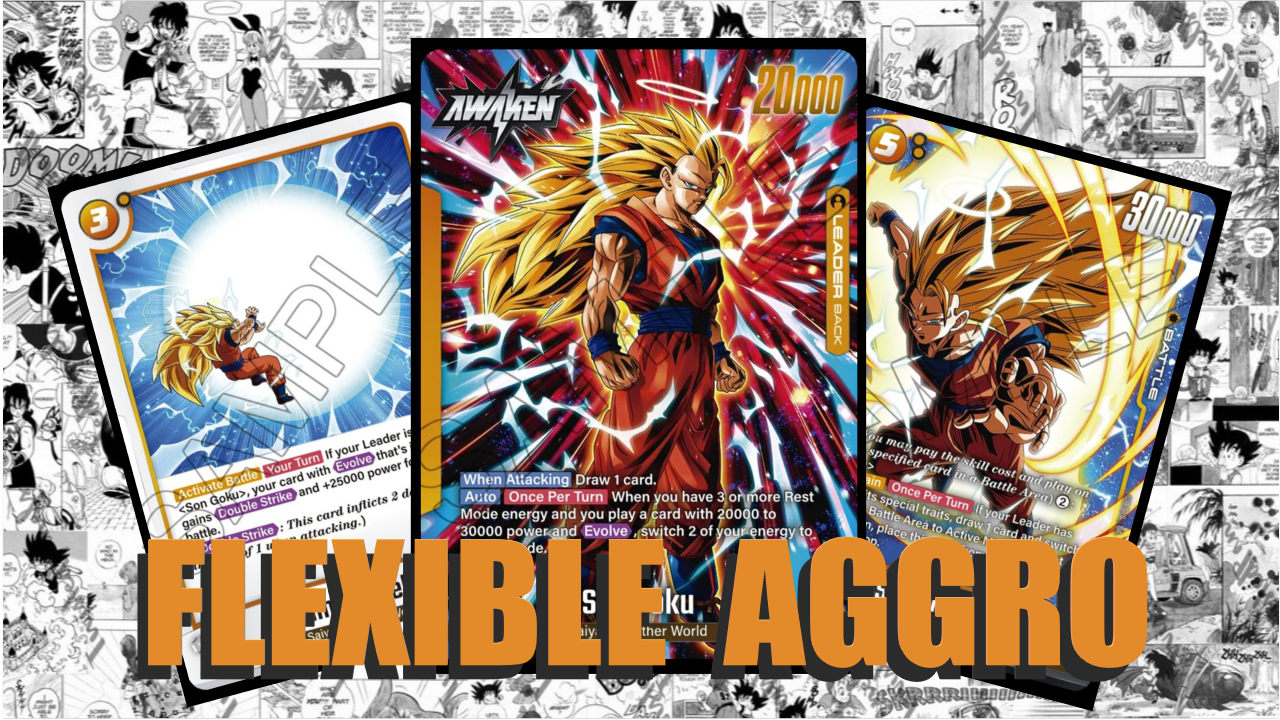
FS11-07 Goku: for most, it's a 4 of. My personal playstyle doesn't involve that card much, but it works really well in this deck, since it can swing 3 times after awaken, and can carry certain matchups.
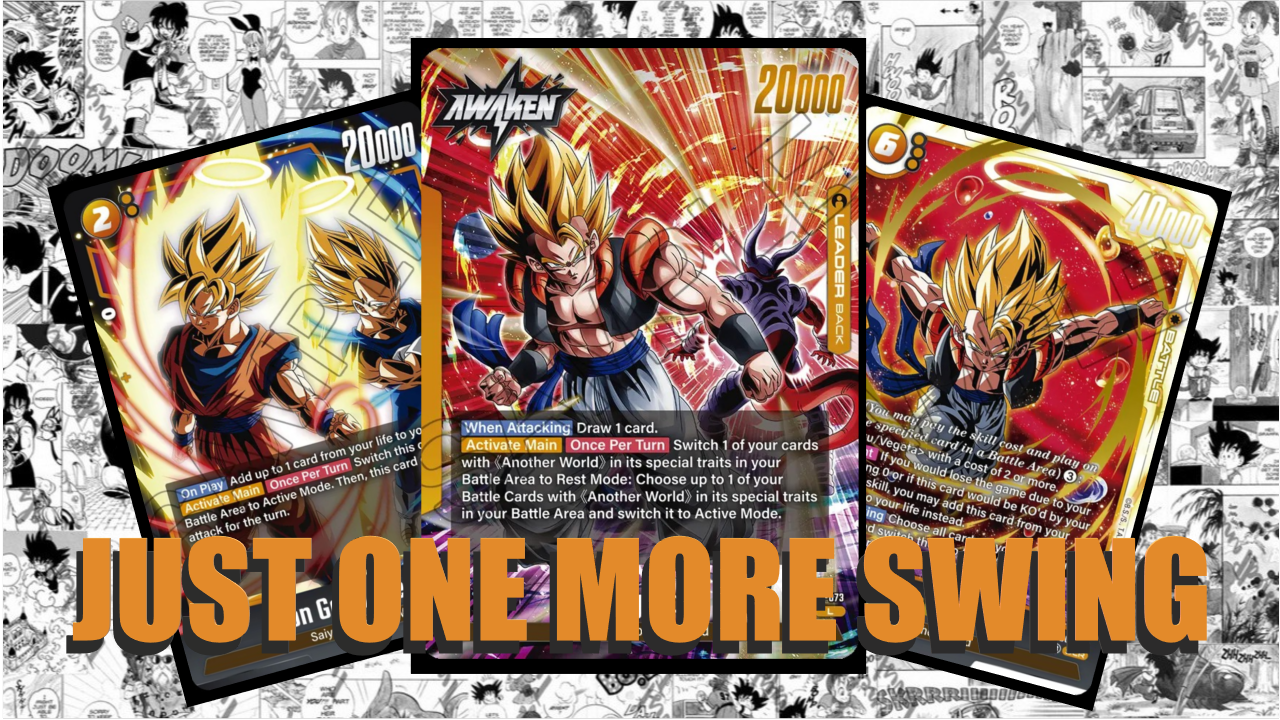
FP-077 Goku: this card is the centre of my early game, but in a less control oriented strategy it can be even removed from the deck.
FB09-074 North Kai: the best Kai in general, this is the only one worth considering as a 4 of.
📈 Meta
Matchups
VS SS3
I play full control until my Gogeta is on the board, but I must clarify that going full aggro into it could yield great results. I use my resters, my extra, and Vegeta to deal with my opponent's board, and combo in my non-Goku cards on board to stall game. It's also worth considering to combo from hand to evade 20k attack before awakening, because we can force the opponent to attack our unawakened side with the 5c Goku. It's not worth risking keeping any card on the board, the opponent will deal with it, so we must play the Gogeta sequence from our hand.
After Gogeta is out, we can go face, our opponent will have 3 life, and 40k attacks will melt their hand. They can't kill us easily with our Gogeta on board, so the usual double strike all-in is not an option. Our Gogeta will likely be freezed, and 30k attacks will be issued. We should combo smart, and play for value, and we have a good chance to emerge victorious.
VS Brogeta
I usually play more actively here. Brogeta can deal with our board easily, he can also make our SCR a 15k (or 10k), which is easily removed from board without triggering it's effect. For that reason we must get in as many attacks as we can, so we can mitigate their hand. They are more sensitive to their hand, than us, because we need fewer cards to field our best card. We should almost never attack their board, the 5c Gogetas are great target to our Vegeta, and the 6c cards should be freezed.
It's a tough matchup, but it's mostly won by attacking more efficiently, than them. Their basic board attack sequence is 20k+20k+40k in the end game, while ours is 20k+40k+40k.
🎥 Gameplay
Digital
FB09
Free
2aded0a3-8ef0-404f-8b02-35ddee174692 - kiogeta; gold
3278fcc4-37f4-4172-bfb0-13f3670b7353 - vegito; master
Ranked
19b6e681-aa36-4ac6-8240-96783b580838 - caulifla; platinum
dab5fc77-c370-40bb-850b-ca41a2de2bb7 - kinameku; platinum
3501cd2f-0e4d-4479-bcf7-d931870a2e1e - brogeta; platinum
29479107-ff69-4178-99a3-8e5b04452d7a - switchogeta; platinum
957219b8-ccf0-436b-a287-982f37b45feb - caulifla; platinum
79fc069c-babb-45e0-996c-832484e38c42 - ss3ku; master
0f0c1341-f59f-4240-b59f-ab9d250dbe58 - kinameku; master
5aa7ce72-8b26-4769-9589-940e6dd47fbc - brolybr; master
f99e8be0-87ee-4e1b-9278-aaf12a46c2d8 - brogeta; master
2d6590d0-575c-427f-b358-1e51185500db - switchogeta; master (youtube)
3c353616-8b62-4327-b5a8-7c947b806e43 - ss3ku; god
8a6381b9-3fbf-4693-b8ad-541b5422cd93 - ss3ku; master
615295c7-9eba-4d67-a5d3-d8d18d0aeb68 - ss3ku; master
374738a6-dcdc-4165-a6d9-e0b7db04e59e - kiogeta; master
4595518a-00ad-49ac-b100-1aaafa0ceb7d - brogeta; platinum
862caa72-b9a1-4b8f-ab25-138b08ed18e8 - ss3ku; platinum
8c596b37-1544-43ca-b204-3e027c187317 - brogeta; master
5063d423-1087-433d-9c51-7716667cfd88 - brogeta; master
636920b5-37cf-461c-b95c-7c6e03d87c8c - kinameku; master
fc97d070-f264-456c-b346-677f3d721f01 - brogeta; master
801f8bd6-7aa7-4a10-a481-be48eb560428 - shenron; platinum
647b3ae9-6588-4320-94e7-faf67f5e9edf - ss3ku; master
2e8e9eb6-a6cb-4947-a80a-8e8aba1aa542 - muiku; master
be332369-8fd3-45dc-b885-d9708c3d13e1 - muiku; master (youtube)
65a3e95e-9efe-4287-9d9a-d28fa65de67a - kinameku; master
a4fc9bd6-64ca-4153-8baa-98b67f828723 - kinameku; master
ed5e2beb-db8e-4618-8f63-111f9ebf3dfd - brogeta; master
82aaa244-fa28-4f35-b0e8-ef61027b1f61 - switchogeta; master
59b83903-dc32-43fd-aaea-45b388ac3bb0 - brogeta; god (youtube)
1f429198-a129-4dab-91b6-25f8cc7d07d8 - ss3ku; master
5b843f59-7f23-4dd2-9200-5c99a5a8dead - ss3ku; master
73271068-8243-4cd6-90ff-3112221ca922 - kinameku; master
6b9b814c-2d04-4d99-bffa-598f4c82b4a9 - brogeta; master
9d988c5a-b6b5-4524-ac50-b3ee817bf35d - ss3ku; master
c231d1a4-e9a0-4de6-9e00-344c1920afa4 - brogeta; master
671bea65-32e0-49ae-aa60-56f0f206c007 - kinameku; master
077ab7f2-9cef-4260-bfc7-1fc9e9225f79 - kinameku; master
a96ce8c4-cf63-4b5d-a52a-ab31bc0a64ac - brogeta; master
acaca97d-1c78-4fa9-9d8b-dcaa05c719e0 - ss3ku; god (youtube)
fc945c14-1ec0-4948-9bd0-fccad9a56bc8 - brogeta; master
0d8686cb-520a-499a-a14b-2f70d83ca48a - topku; master
c77c2eb8-63d5-4af2-8038-be3400f2aede - kinameku; god (youtube)
820b0581-7ecf-437f-9ca6-70e4a28f07a4 - brogeta; master
Event
e5036d12-2293-4b9b-8b3d-b3e1ac13d99c - brogeta; platinum
Youtube
📃 List
Deck Builder - Edit Deck | DeckPlanet
💬 Personal Notes
I wasn't hyped for Gogeta before release, and my initial main was muiku. However after an initial trial with all new leaders I started to like this deck more and more to the point, that I chose this deck as my main for the season. FB09 seemed really interesting at first, the combo potentials were really high between cards, and there was an initial excitement for me to incorporate older cards to the new leaders. However it turned out, that the format is so tight, that the best decks must follow a very strict pattern of what to play and when, which shattered all my illusions. This Gogeta was the exclusion. Here I felt, that I'm very needed as a pilot, and I must discover new combinations and plays, and must adapt to the situation every turn in every game.
That attachment to this playstyle was so deep on my part, that for the first time ever I decided to reach god rank, because it didn't feel like a mindless grind this time around. And I did. I also won ultimate battle with this deck, and also brought it with me for my first regional ever in Athens, and ended up 14th. For this reason no matter what the future holds for this leader, it will always have a special place in my heart.
🔑 Legend
Icons
Type: 🗡️ Aggro | 🏹 Midrange | 🛡️ Control | 🔗 Combo
Tempo: 🐌 Slow | 🐇 Medium | 🦅 Fast
Difficulty
🧠: Beginner-friendly, perfect even for your first game.
🧠🧠: Easy; requires attention to a few small details, but follows a simple and clean strategy.
🧠🧠🧠: Requires learning, but becomes routine after sufficient practice.
🧠🧠🧠🧠: Requires a deep knowledge of both your own deck and the opponent's; demands situation-dependent decision-making.
🧠🧠🧠🧠🧠: Demands perfect play in both decision-making and execution through complex sequences.
Competitiveness
🔥: Unplayable; does not perform under any circumstances.
🔥🔥: Underperforms; highly dependent on favorable circumstances.
🔥🔥🔥: Performs well; perfect for casual play, but at a clear disadvantage against dominant decks.
🔥🔥🔥🔥: Suitable for competitive play; in theory, a skilled player can hold their own against anything.
🔥🔥🔥🔥🔥: Dominant; a typical "boogeyman" deck that everyone hates to face.
Glossary
Aggro: A strategy that ignores the opponent's game plan with the goal of ending the match as quickly as possible, in this case through relentless attacks.
Midrange: A strategy that seeks a middle ground, attempting to balance the tempo. It tries to slow down fast decks and outpace slow decks. Board control is a vital tool here.
Control: A strategy entirely focused on neutralizing the opponent's plays. It settles in for a long, slow game where the goal is to bleed the opponent out of resources.
Combo: A strategy that aims to win (or at least cause a radical shift in the game state) through the synergy of specific cards, often appearing to come out of nowhere. The goal is to gather the necessary components and fulfill the prerequisites as quickly as possible.