🧭Overview
Color: 🔴
Competence: 🔥🔥🔥🔥
Difficulty: 🧠
Type: 🔗
Speed: 🦅
🎯Strategy
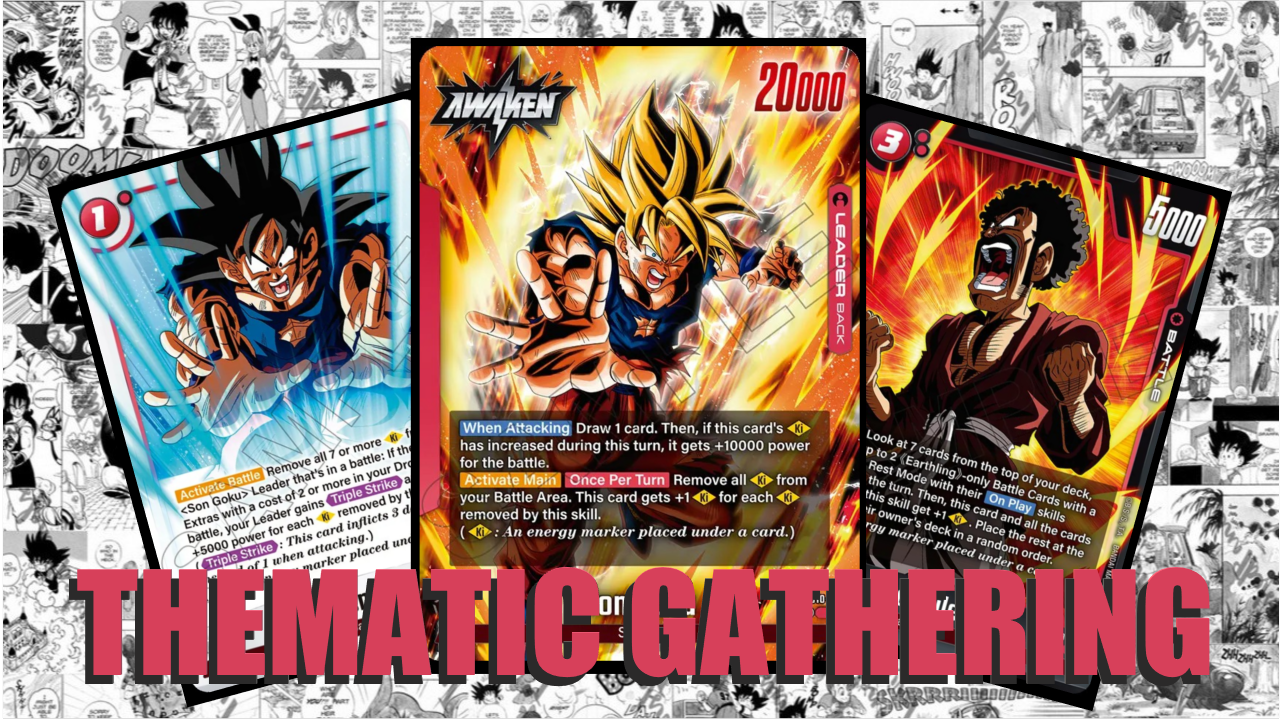
This leader has a very simple, but thematic concept. Our battle cards gather ki, and our leader absorbs that ki to unleash a big final attack with the Genki Dama, that does triple strike. We can gather ki one by one with most of our cards, but since we need at least 7 for the final attack, we need a faster way, and here's where the champ, Hercule comes to the rescue, because he can gather up to 5 ki at once, but at least 3 if not whiffing (for 22 Earthling-only 2 cost cards the chance is 91,4% to hit 2 in the top 7), since Everyone on Earth can use its main ability after entering in rest mode.
How to get down the opponent to 3 life? Krillin can do the job quite well until 4 life, which doesn't seem useful at first, but we will only attack with the leader in the first few turns, so it can easily be a necessity. After that the real obstacle is getting down to 3 life to reach our potential finisher, athough often times our opponents will go down to 3 without second thoughts, risking our all in attack to be not enough. If not, our Goku cards are the best options, as one attacks with 30k for 1 energy, while the other can easily swing above 50k absorbing the power of the Genki Dama seen against Android 13.
⚠️ Challenges
There's not much flexibility in the build, as we need to make Hercule viable. The biggest problem is the lack of removal in the first turns, as the most we can do is to -10k something on the board, before using the extra to remove the big stuff. This means, that we can't interrupt early evolve strategies, and 40k cards can't be removed by any means except for swinging into them.
Also, while it's not that hard to reduce our enemies' life to 3, the game is a race for combo power. It doesn't mean anything if we attack with a 130k triple strike at 3 life, when our opponent has 15 cards in hand, and can survive our finisher. We won't get a second chance.
🧱 Core Cards
FB10-024 Super Genki-dama – the way we win the game, the whole archetype is built on this
FB10-021 Hercule – our best card, and the main way to generate ki in the game
FB10-011 Son Goku – a really big attacker, who has a key role in pushing the enemy to death door
💡 Tips
defend early, there is no need to take in attacks, that could be evaded, especially because all the good cards are 0 combo cards, which will hurt the combo power in hand
Cheelai is very good with Krillin, as she activates on play abilities, burning down the opponent life for 1 energy
don't defend board, no card is important to keep
🎥 Gameplay
Digital
FB10
Free
32f7851c-2913-46b4-8475-2e4631c5adc6 - brolybr; platinum
8c5249af-887a-4843-a5b7-4b8e40c5674e - brogeta; platinum (youtube)
0fd34fef-fea6-4fcc-9551-8b0f319d25ee - beasthan; platinum (youtube)
6cf4c889-c510-4b03-be0e-8cc1c1a41e90 - stackgito; gold (youtube)
Event
0eac3ce7-62d8-4420-9192-461c19001923 - blackcell; platinum (youtube)
b5c70036-d6cc-4b80-b346-f047ef07d94a - stackgito; platinum (youtube)
Youtube
📃List
FB10 - Genki Dama Goku - Deck - Dragon Ball Super: Fusion World | DeckPlanet | DeckPlanet
💬 Personal
I like the concept of the deck, however I find the flexibility lacking in a big way. The deck pretty much plays itself, and there's a bigger role for the enemy player to be skillful, then the pilot. The archetype is tightly locked, and the whole match is a race for combo power. A good opponent will learn to how to play against this deck, and play around, where possible. This deck doesn't have this luxury. For me it's good for casual fun, but nothing more.
This guide is shorter than usual for exactly this reason. All matches seem the same, the strategy doesn't change by matchups.
🔑 Legend
Icons
Type: 🗡️ Aggro | 🏹 Midrange | 🛡️ Control | 🔗 Combo
Tempo: 🐌 Slow | 🐇 Medium | 🦅 Fast
Difficulty
🧠: Beginner-friendly, perfect even for your first game.
🧠🧠: Easy; requires attention to a few small details, but follows a simple and clean strategy.
🧠🧠🧠: Requires learning, but becomes routine after sufficient practice.
🧠🧠🧠🧠: Requires a deep knowledge of both your own deck and the opponent's; demands situation-dependent decision-making.
🧠🧠🧠🧠🧠: Demands perfect play in both decision-making and execution through complex sequences.
Competitiveness
🔥: Unplayable; does not perform under any circumstances.
🔥🔥: Underperforms; highly dependent on favorable circumstances.
🔥🔥🔥: Performs well; perfect for casual play, but at a clear disadvantage against dominant decks.
🔥🔥🔥🔥: Suitable for competitive play; in theory, a skilled player can hold their own against anything.
🔥🔥🔥🔥🔥: Dominant; a typical "boogeyman" deck that everyone hates to face.
Glossary
Aggro: A strategy that ignores the opponent's game plan with the goal of ending the match as quickly as possible, in this case through relentless attacks.
Midrange: A strategy that seeks a middle ground, attempting to balance the tempo. It tries to slow down fast decks and outpace slow decks. Board control is a vital tool here.
Control: A strategy entirely focused on neutralizing the opponent's plays. It settles in for a long, slow game where the goal is to bleed the opponent out of resources.
Combo: A strategy that aims to win (or at least cause a radical shift in the game state) through the synergy of specific cards, often appearing to come out of nowhere. The goal is to gather the necessary components and fulfill the prerequisites as quickly as possible.